Import
and Use of your Controlled Vocabulary Keyword Catalog
with Image Info Toolkit
[please note] If you have a version of the catalog you may wish to "reload" at a later point, do note that the instructions given below will "overwrite" or wipe out your existing data. If so, make sure you "export" the data first using the Export command under the Keyword menu, or leave the Overwrite Existing Catalog button unchecked.
Use the following link if you need to order the Image Info Toolkit product.
If you have other questions of a general nature, please check the CVKC-FAQ.
Note to Windows Users: If you are having problems with Image Info Toolkit on newer Windows machines, be aware that there is a known conflict with versions of QuickTime (version 7+) that causes the application to crash soon after launching. To prevent this from happening you have to make an adjustment within the preferences of the regular QuickTime Player (you will not find them in the QT picture viewer). Open the QuickTime Preferences (under the Edit menu) and then locate the "QuickTime Preferences." In the resulting dialog, choose the Advanced tab (at far right), and flip down to the Video mode and check "Safe mode (GDI only) and then click on the OK button.(note, older QT versions, such as v 6.5 don't have these options). After making this change Image Info Toolkit should work properly.
Before you begin the import process be sure to extract the CVKC file from the compressed file you downloaded (See the UnZipping page if you are not familar with how to open or extract a Zip file).
Importing the Keyword Catalog
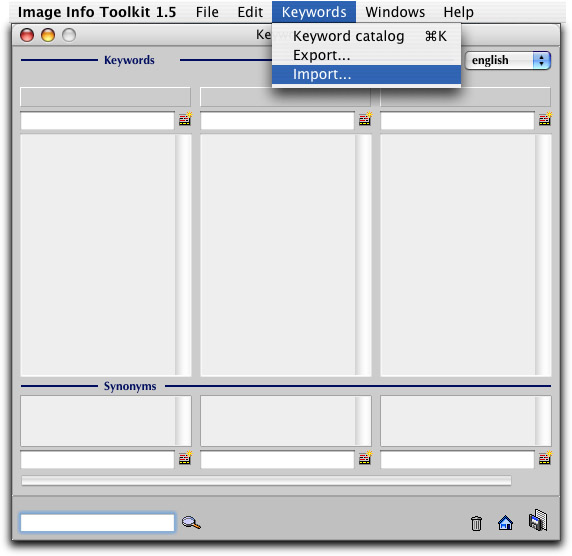
1. With the Image Info Toolkit utility running, launch the Keyword Catalog, by choosing Keyword Catalog from the Keywords menu (or use the Commnd/Ctrl + K shortcut).
2. From the same menu, choose Import. A new dialog box should emerge titled Keyword Catalog - Import.
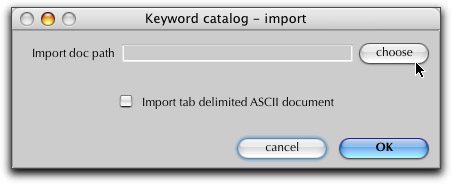
3. You should now see something like the dialog box below.
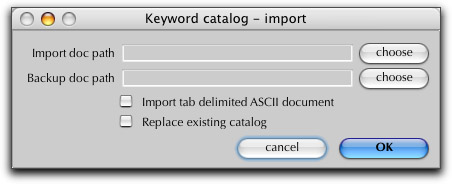
If you have already create a keyword catalog of your own, or had imported the sample keyword catalog, you'll instead see something that looks like this dialog box.
DO NOT click on the checkbox labeled Import tab delimited ASCII document, as that is only to be used when you are importing a Text (.txt) document, rather than an English Keyword file (.ekw).
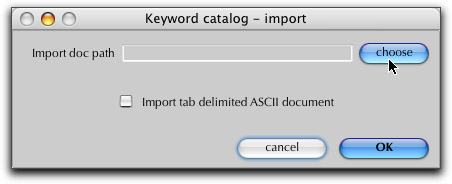
4. Click on the Choose button next to the top line titled Import doc path. Navigate to the folder where you stored the cvkc-v2.ekw file you downloaded and extracted from the ZIP or Stuffit file.
5. The default for importing keywords is to leave the existing keywords intact UNLESS you check the box that says Overwrite Existing Catalog (#22 below). If you do not check this box before clicking OK, the new catalog will co-exist with your older version. In many cases this will result in multiple branches with the same names, and may be quite confusing. We suggest you use the Overwrite Existing Catalog feature. If you wish you can also back up your existing catalog, by clicking on the "choose" button for the Backup doc path.

6. Click on the OK button (may appear as a green check mark depending on your version and operating system).
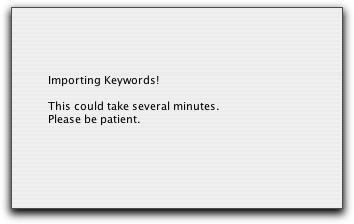
There are currently about 11,000 terms, so depending on your system this could take anywhere from a few seconds to a few minutes or more. During this time you should see a warning message that looks somthing like the one below.
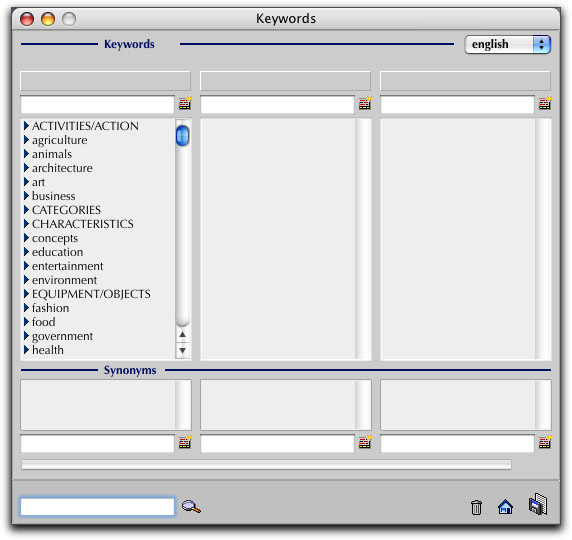
When completed you should see a column of terms in the left most column that looks roughly like the screen grab below:
Using the Keyword Catalog
There are many ways to use the keyword catalog. Here are a couple of suggestions to get you started.
First load a new image. You can use the Open (command/control + O) or Open Folder command from the File menu.
Take a good look at the thumbnail.
Switch over to the Keyword Catalog (open it first if you haven't already by using Command/Control + K or choosing Keyword Catalog from the Keyword menu item at the top command line).
Start by taking the first word that pops into your head and type it into the find field (#6 below) in the lower left of the Keyword Catalog window.
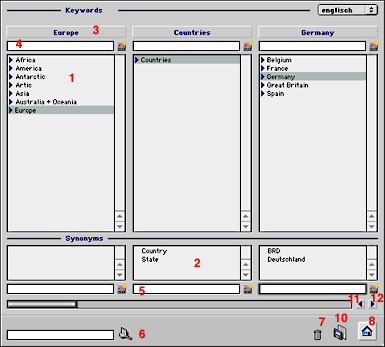
One of three things will happen. You will either be transported directly to that term in a branch of the catalog, you will be presented with several instances of the term, or you will get an error message stating "Keyword [term you entered] doesn't exist."
If you get several "hits" you'll see a dialog box stating "[term you entered] was found in several branches, please choose the appropriate branch." You will then need to select which term is most appropriate for your context. You will only see the last two levels of the term in the upper part of the window in the current version of the Image Info Toolkit. However, if you single-click on one of the presented terms in this dialog, you can see the entire path for the branch in the lower portion of the window. This should give you enough detail to determine which is the best match.
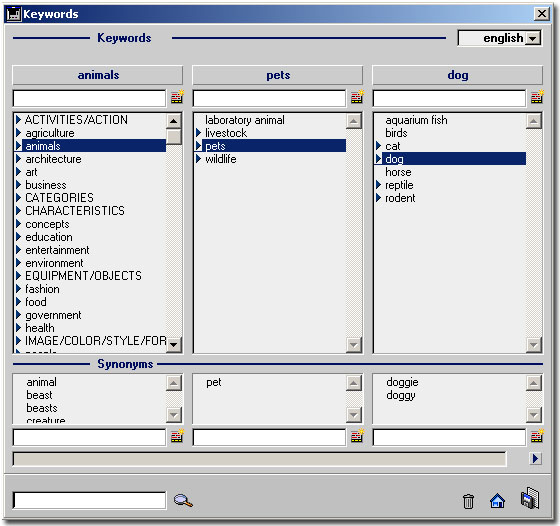
If you get a single match you'll be transported automatically to that term within the catalog structure. In the example below the search term was "dog."
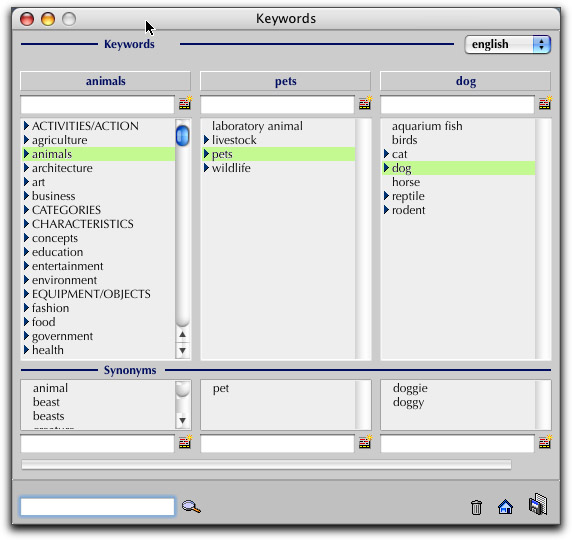
Note that in the lower window of all the columns that there are synonyms for the selected term above in green (in Windows or OS9, the highlight will be dark blue in color). When you drag-and-drop the selected term to the Keyword field in the data entry window, these synonyms will be copied over as well (you can also drag these to the Caption field if you want a set of comma separated terms). If you wish, you can suppress the synonyms from being transferred by holding the Shift key down at the same time you drag the term to the Keyword or Caption field in the data entry skin. In the example above, this would mean that Only the terms, animals, pets, and dog would be transferred.
If you get no matches when you search, you can try a different term, or you can attempt a "wildcard" search. To keep performance at its peak, the Find feature in the keyword catalog only searches the 4D index for full words that exactly match the search word. If you want to search on a partial word (a "string" in database terminology) then substitute the "*" (asterisk) or "@" (at) symbols as your "wildcard." This will take a little longer, but you'll find the term you are after. For example, if you had a catalog that only had the entry "babies" (with no linked synonyms) and did a search for "baby" you would get an error message stating, "keyword 'baby' doesn't exist." If you type "bab*" or "bab@" into the Find window, you'll find your term (as well as other terms starting with "bab", like baboon, and baby's breath). In the Controlled Vocabulary Keyword Catalog, we've typically chosen singular words for the main branches of the hierarchy, and place the plural versions of the words in the synonym section (a search in the Find field, however, will find both main level items as well as synonyms).
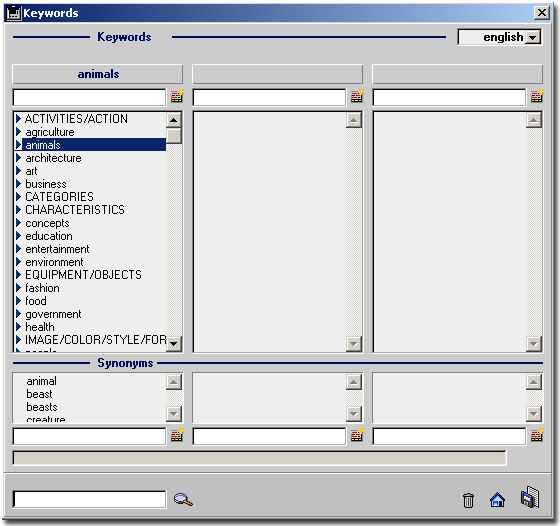
When you aren't sure of the exact term you want to use, or when you want to explore what's located within the various levels of the hierarchy, you can "drill-down" through each level by starting at the top level and double clicking on the selected term. In the screen shot below, the top level term Animals has been selected with a single click.
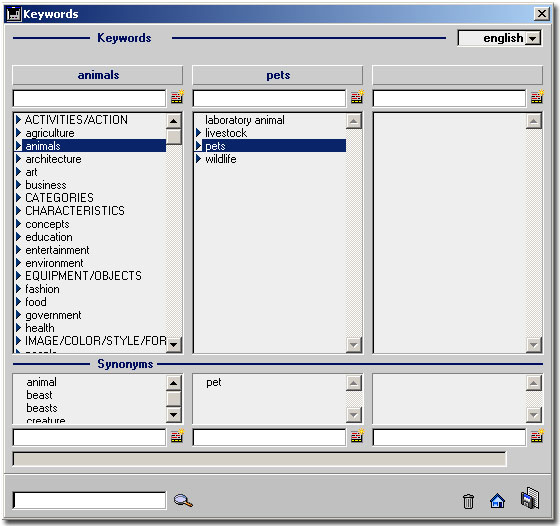
Double clicking will reveal the next level below that.
Another double-click and you'll find yourself at the third level. Note that the presence of an arrow to the left of the term indicates that there are additional levels to those hierarchies.
When you have found the term you are after, simply "drag and drop" the word chosen into the keyword field in the data input mask (the other window). Note if you are using the "group-wise" input "skin" (in IIT parlance the group-wise input "mask"), you will need to make sure that the area pulldown menu is set to the Keywords window.
I prefer the "all-in-one" input skin. If you click on the triangle (pointing right) in the lower left hand corner of the main input skin (window) you can "toggle" between the two types of input skins. Remember that with the default or "group-wise" input skin you have to be on the "keyword" section (second item in pull-down menu) before you can "drag and drop" the keyword in question.
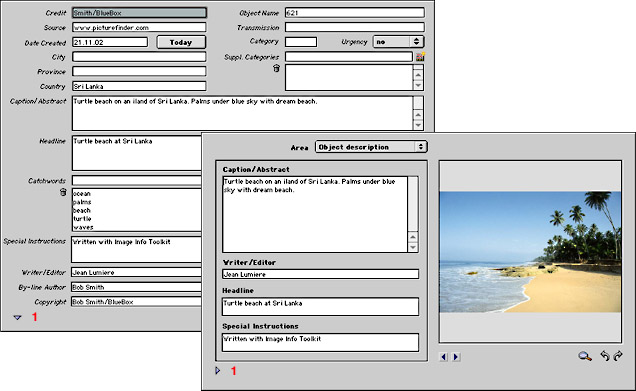
If you are using the all-in-one input skin, you simply drag and drop to the large "keyword field" on the left side of that input mask/window.
If you are wanting a set of comma-separated terms (keyword1, keyphrase1, keyword2, keyword3, key phrase2, etc) so that you can paste these into the Keyword field within the File Info feature of Adobe Photoshop CS, then drag them to the Caption window in the standard data entry (shown below), or the all-in-one skin as pictured above.
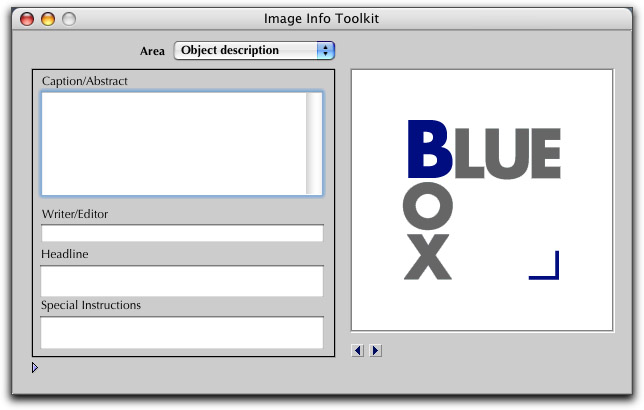
Then repeat with the next term you think of, until you have described the image to your satisfaction.
Cleaning up your keywords
Due to the nature of hierarchical categories, some of the top level designations are designed to be discarded after selection. These terms have been input using all UPPER CASE letters to make them easy to locate. To delete them from the Keyword field in the data entry skin, simply double click on the word you want to remove. If you have dragged-and-dropped the terms to the Caption window (to get a set of comma-separated terms) then you can simply "cut" those terms by highlighting with your cursor and deleting.
Additional annotation
You can fill out the Caption field, with whatever specifics don't fall into the keywords. You can also fill in any of the other fields you desire for the image till you have a "complete record." I like to use the "object name" field to put the root name of the high res master for the image I'm describing.
See the chart of sample IPTC fields on the Controlledvocabulary.com site for more ideas (http://www.controlledvocabulary.com/imagedatabases/iptc_naa.html#IPTCchart).
When you have completed filling out fields for this particular image, choose Save from the file menu to embed this IPTC data into the actual image file within Image Info Toolkit. Note that if you've only entered data into a single field that you have to move the cursor or tab to at least one other field before the option to save the file is allowed.
Maintenance of your Controlled Vocabulary Keyword Catalog
If you modify your catalog, by adding additional terms or synonyms, you will want to back up your data periodically. I make it a point to save a back-up by exporting the catalog and storing it on a separate hard drive, as well as on some removeable media off-site.
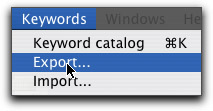
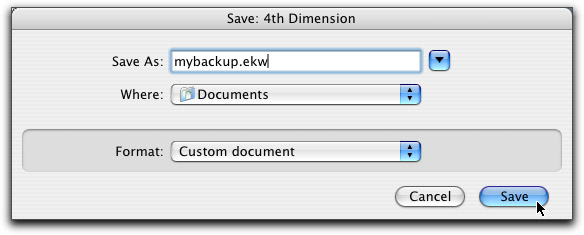
When you save the catalog on a Macintosh running OSX you'll see the standard operating system menu, such as shown below.
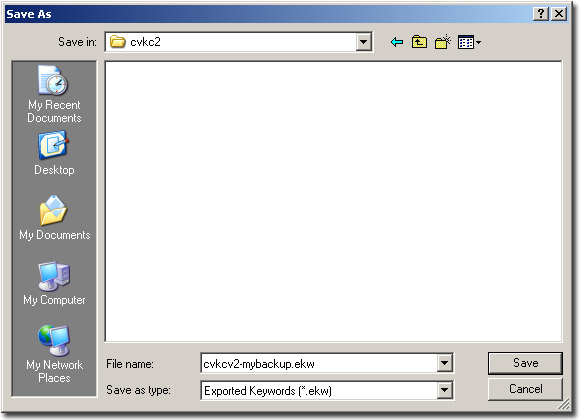
When you save the catalog on a Windows computer running XP or XPpro you'll see the standard operating system menu, such as shown below.
Please note that your username and password will remain active for the period in question. You are welcome to check back from time to time, or you may wish to join the Controlled Vocabulary "group" by sending a note to (controlledvocabulary-subscribe@yahoogroups.com), or going to the bottom of the main page on the Controlled Vocabulary site at (http://ControlledVocabulary.com/). This list is primarily for the discussion of the use of controlled vocabulary in building and managing image databases, and dealing with metadata for image collections, but I will also post notices of catalog updates in addition to sending you an email.
If you are having problems with the underlying Image Info Toolkit program,
there is a FAQ and link to join a support list on their site at (http://www.picturefinder.com/software/iit/help/faq/welcome.html).
Hope that gets you started, if you have suggestions, please contact
us.
Please note that use of the Controlled Vocabulary Keyword catalog is subject to the End-User License Agreement ("EULA"), and that by downloading this software you agree to be bound by those terms and conditions.
